Changing the time on your iTouch Smartwatch is a simple process that allows you to keep your watch synchronized with the correct time. Whether you need to adjust for daylight saving time or if your watch’s time is not accurately reflecting the current time,
This guide will provide you with easy steps on How to Change Time on Your iTouch Smartwatch. So, you may read this guide completely.
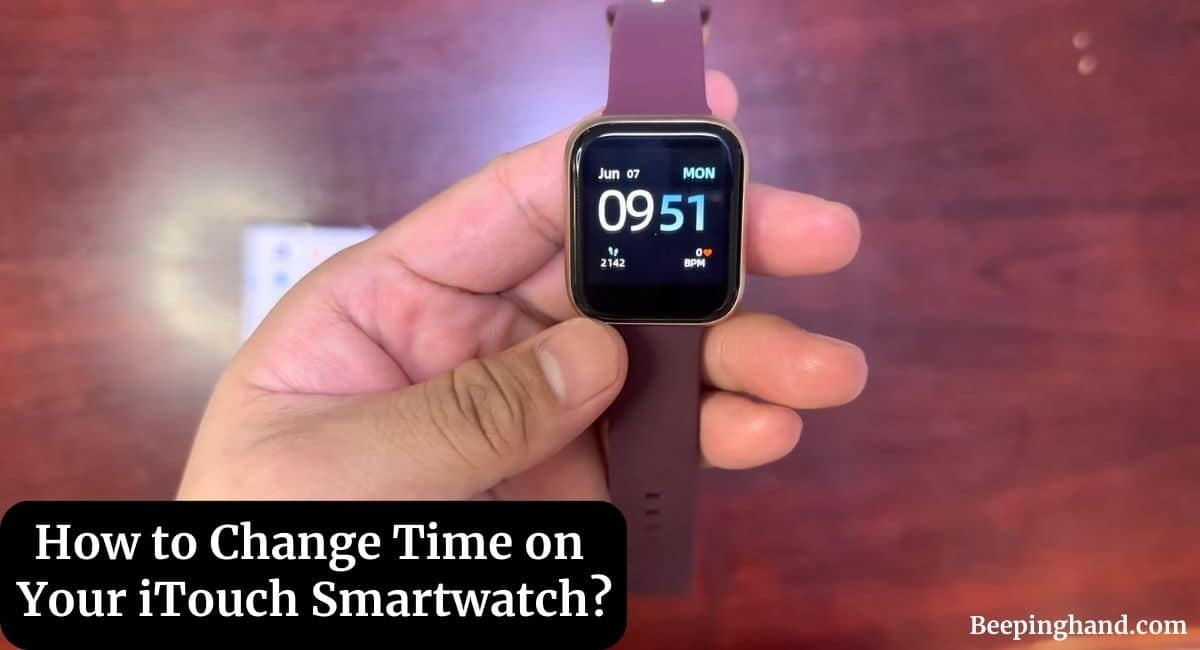
How to Change Time on Your iTouch Smartwatch

Keeping accurate time on your iTouch smartwatch is essential for staying on schedule and ensuring that all of your notifications and alarms are set correctly. Changing the time on your iTouch smartwatch is a quick and easy process that can be done in just a few simple steps.
iTouch Smartwatch Overview
The iTouch smartwatch is a stylish and functional device that combines the convenience of a traditional watch with the advanced features of a smartwatch. This watch allows users to receive notifications, track fitness, and control music and other functions from their wrist.
It has a sleek and modern design and comes in a variety of styles to suit different preferences. With its many features and capabilities, the iTouch smartwatch is a great choice for anyone looking for a versatile and convenient device to wear on their wrist.
Process to Set Time on iTouch Smartwatch
To set the time on your iTouch smartwatch, follow these steps:
- Press the middle button on the side of the watch to wake up the screen.
- Swipe down from the top of the screen to access the settings menu.
- Scroll through the menu and select “Time & Date.”
- Use the middle button to enter the Time & Date settings.
- Use the side buttons to adjust the hours and minutes. Press the middle button to move between the hours and minutes.
- If necessary, toggle the “24 Hour” option to switch between a 12 hour and 24 hour clock.
- When you are finished adjusting the time, press the middle button to save the changes.
- Swipe up from the bottom of the screen to return to the main screen.
How to Change Time on Your iTouch Smartwatch
To change the time on your iTouch smartwatch, follow these steps:
- Press the middle button on the side of the watch to wake up the screen.
- Swipe down from the top of the screen to access the settings menu.
- Scroll through the menu and select “Time & Date.”
- Use the middle button to enter the Time & Date settings.
- Use the side buttons to adjust the hours and minutes. Press the middle button to move between the hours and minutes.
- When you are finished adjusting the time, press the middle button to save the changes.
- Swipe up from the bottom of the screen to return to the main screen.
Note – Steps may vary depending on the iTouch model and software version you are using. It will always be a good idea to consult the user manual for more detailed instructions.
Also Read: Connect iTouch to Phone
How do I set a 12-hour or 24-hour clock on my iTouch smartwatch?
To set a 12-hour or 24-hour clock on your iTouch smartwatch –
- Go to the “Time & Date” settings and toggle the “24 Hour” option.
- If the option is turned on, the watch will display the time in a 24-hour format, if the option is turned off, the watch will display the time in a 12-hour format.
Wrapping Up
This article is all about How to Change Time on iTouch Smartwatch. Changing the time on your iTouch Smartwatch is an easy process accessed through the Settings menu. By following the provided steps, you can easily ensure that your watch displays the correct time. Regularly checking and adjusting the time on your iTouch Smartwatch will help you stay on schedule and maintain accurate timekeeping.
If you have still any doubts then you may ask in the comment box. We have also written a guide about How to Reset iTouch Watch and charging your Justice Smartwatch.
FAQ’s How to Change Time on Your iTouch Smartwatch
How to change time on iTouch Air 3 watch?
To change the time on your iTouch smartwatch, wake up the screen by pressing the middle button, access the settings menu by swiping down, select Time & Date, use the middle button to enter the settings, adjust the hours and minutes with the side buttons, press the middle button to save changes and swipe up to return to the main screen
The time on my iTouch smartwatch is wrong, how can I fix it?
To fix the wrong time on your iTouch smartwatch, you can follow the steps above on “How do I change the time on my iTouch smartwatch” to adjust the time manually. Additionally, make sure that your iTouch smartwatch is connected to your smartphone, as it may automatically adjust the time based on your phone’s settings.
Can I change the time on my iTouch Smartwatch from the watch itself?
Yes, you can change the time on your iTouch Smartwatch directly from the watch itself by accessing the Settings menu.
Is it possible to synchronize the time on my iTouch Smartwatch with my smartphone?
Yes, if your iTouch Smartwatch is connected to a smartphone, it can synchronize the time with the phone’s time automatically. Ensure that your smartphone has the correct time for accurate synchronization.
my iTouch air 3 does not have a side button and my settings does not have
Time option. I need to correct for Daylight Savings time. Please advise.
Just connect iTouch air 3 with your smartphone then time and date will be automatically set
Download app, press open, and asks to pair with watch out push iTouch icon and goes to blank screen. Have IOS 16.5 but app doesn’t open on phone. Please advise.
If the problem still persists then I would recommend you to ask help from Customer Support.
The screen stays dark. if I keep tapping it finally pops on for several seconds and goes off.
Can’t set time. I have an iPhone so it definitely has the correct time. It’s connected to bluetooth, and can’t swipe screen, no button on the side. I’ve had trackers before. It was easy peasy.
A simple restart can often resolve temporary glitches. Try turning off your smartwatch and then turning it back on to see if that resolves.
If the above steps don’t resolve the issue, it’s advisable to reach out to the customer support.